
Consent
In the Gap-portal it is possible to obtain consent from employees. This may be relevant in the context of, for example, the use of images.
Overview of consent forms
To access the consent module, click on “Consent” in the menu bar on the left, and a submenu will open where you must select “Form” to view the existing consent forms and create new ones.
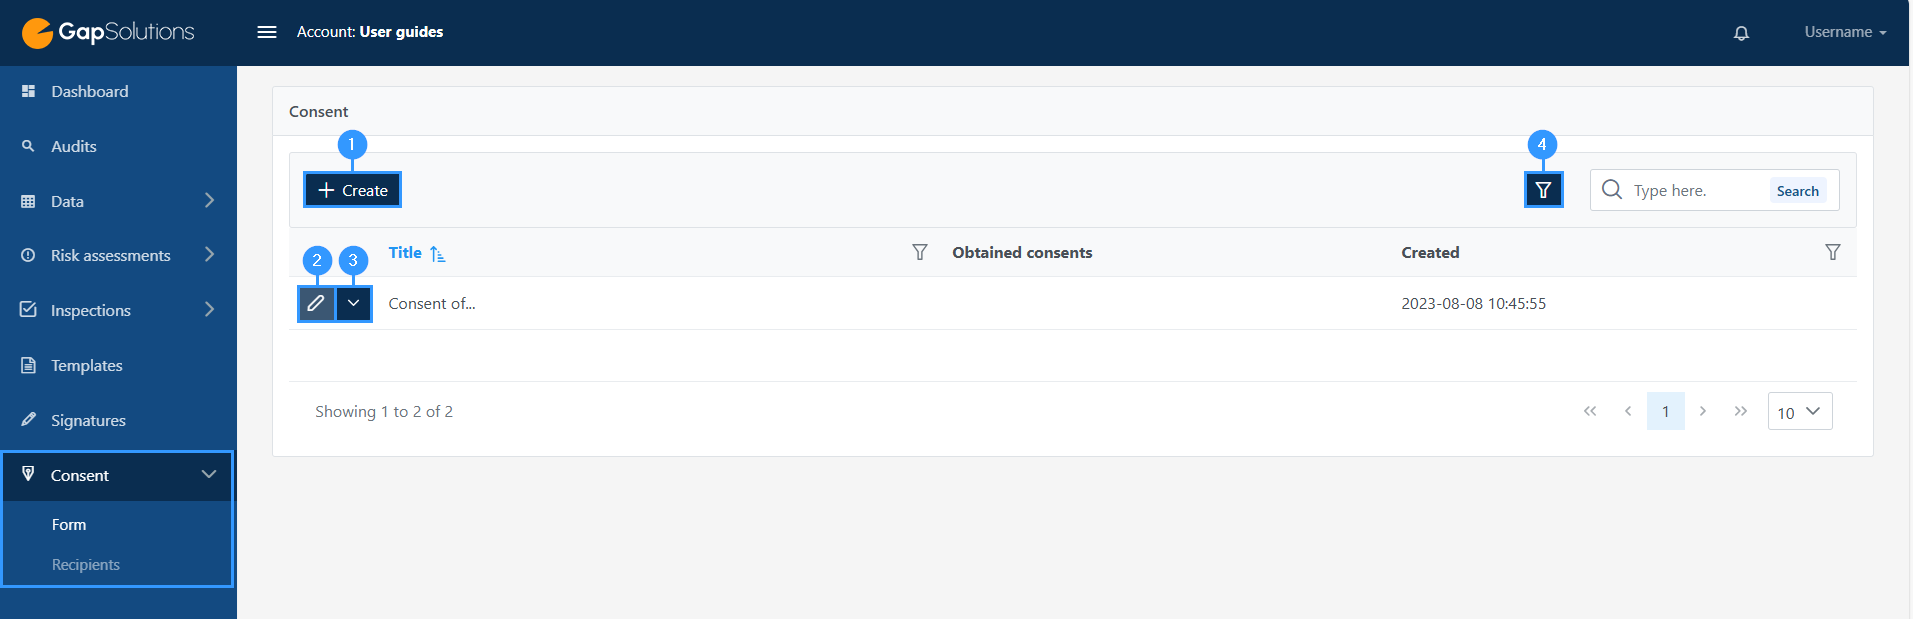
1. Create
-By clicking here, you will open the form for creating a new declaration of consent.
2. Edit
-Here you can edit an existing consent form.
3. Delete
-here you can delete the individual form
4. Ȳ-funnel
-This funnel icon opens the option to set your search in the consent forms. Clicking on the icon will open an option to choose whether you want to view the archived consent forms. The default setting is set up so that you will see the active consent forms. In addition, it is possible to enter a keyword, and in this way search in the overview of your consent forms.
Creating a new declaration of consent
If you wish to create a new declaration of consent, please click on “create” which is shown as item no. 3 in the image above. When you click here, the following form opens:
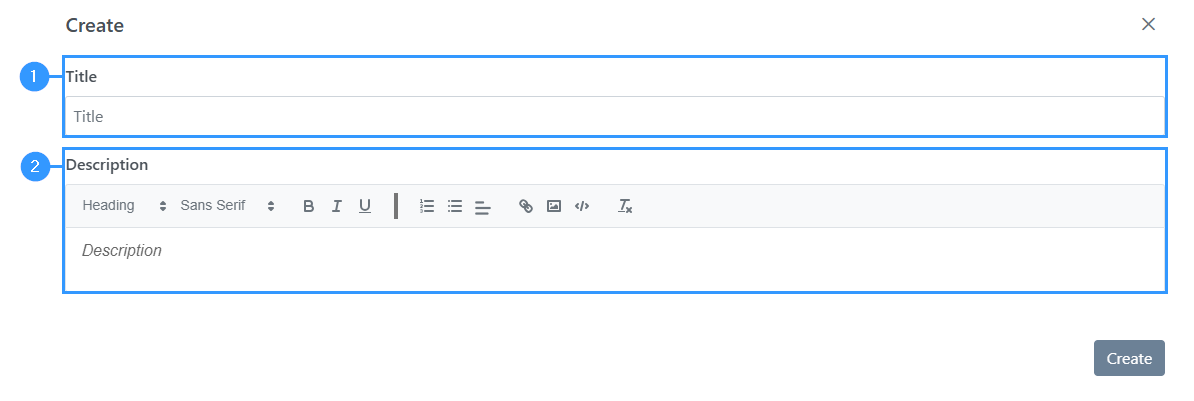
1. Title
-Here you must enter a title for the consent form you want to create.
The title will appear in the overview of all consent forms you have created and will also appear on the page, that the recipient meets when deciding whether to give consent.
2. Description
-In this field, there is space to fill in a description. In the description, you can discuss the purpose of obtaining consent. For example, if you obtain consent for the use of images, it will be relevant to discuss what the purpose of the use of the images is, and to what extent the images are to be used.
Recipient overview
To access the list of recipients and create new ones, click on “consent” in the menu bar on the left, and a submenu will open where you must click on “recipients”.
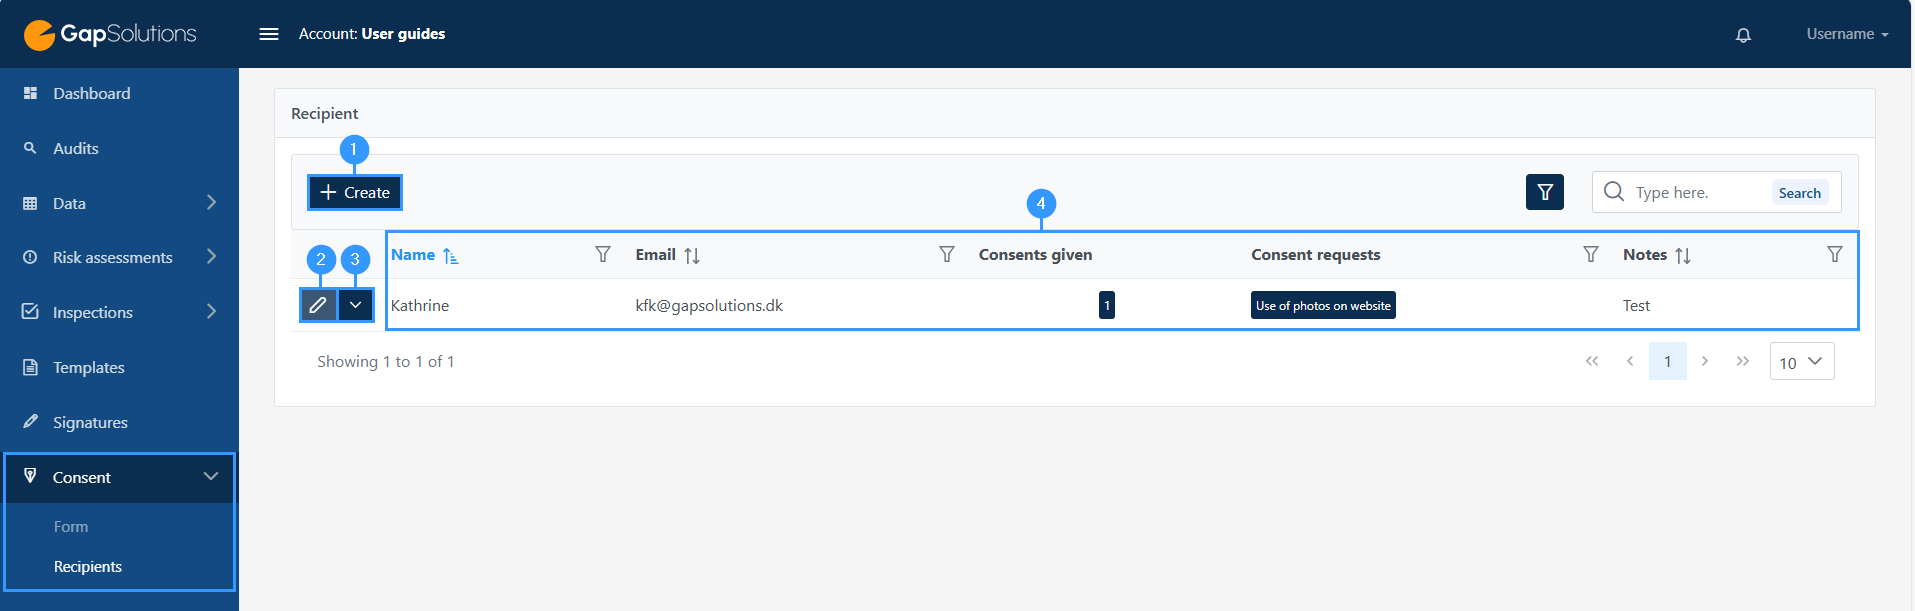
1. Create
-When you want to create a new recipient, click here. When you click here, a form will open that you need to fill out.
2. Edit
-Here you can edit the data recipient
3. Copy link / resend link / delete recipient
-This is a function menu. By clicking on the icon, you can choose between: “copy link”, “resend link” or “delete”.
When you select “copy link”, you will copy the link to the overview of consent forms sent to the employee. In addition, you can resend this link so that the employee can access the overview of the consent forms that have been sent.
4. Overview
-Most of the information in the overview is information that has been entered in connection with the creation of the recipient. In addition, you will be able to see which consent forms have been requested and which have been consented to. If there are several consent forms, you can click on the icons and get a closer insight.
Creating a new recipient
If you wish to create a new recipient, click on “create” as shown (1) in the image above. When you click here, you will open the following window:
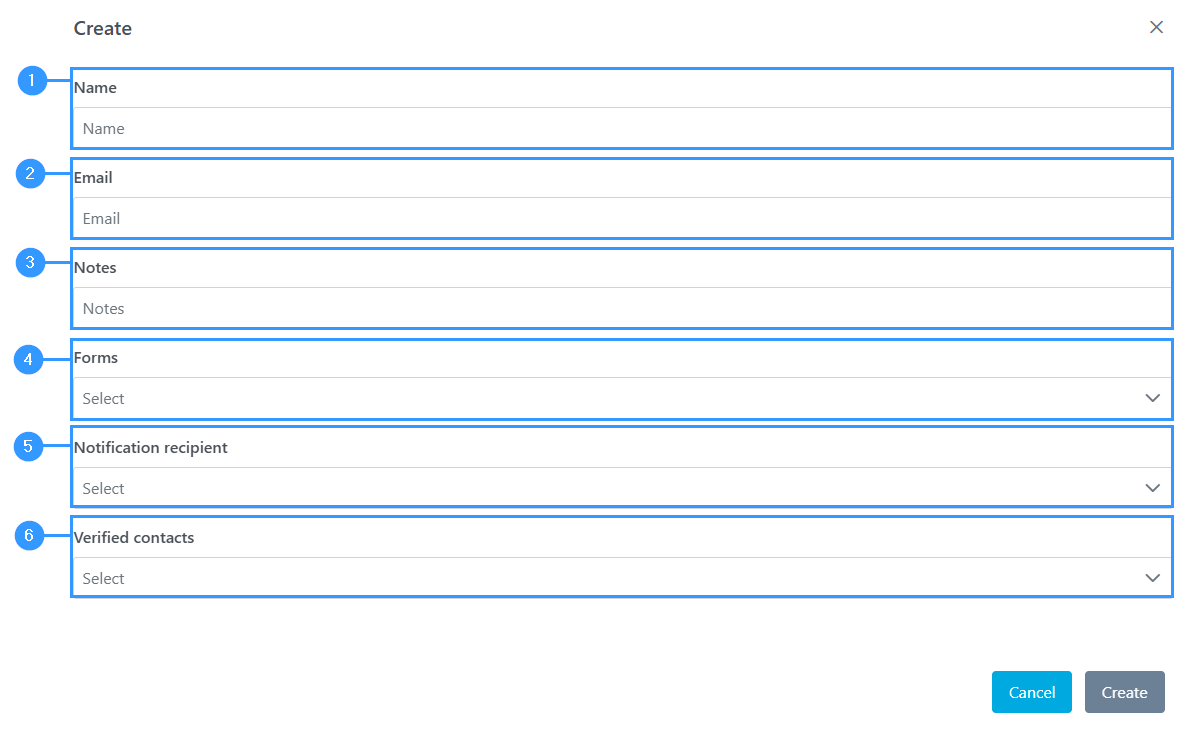
1. Name
-Enter the name of the recipient you want to create.
2. Email
-Here you need to enter mail of the recipient. The email you enter will be the one the portal uses when a declaration of consent is to be sent to the recipient.
3. Notes
-In this field, you can enter any notes that can help you in your overview of the different recipients you have created.
4. Forms
-Here you choose which consent forms you want to send out to the recipient.
5. Notification recipient
-Here you insert a user from the portal who should receive notifications in connection with the declaration of consent. It will be this user who receives a notification if, for example, the recipient has revoked the consent.
6. Verified contacts
–
Receiving a declaration of consent
Once you have created a declaration of consent and sent it out to a recipient, the recipient will receive an email from the portal with a link to the consent form.
The email might look like this:
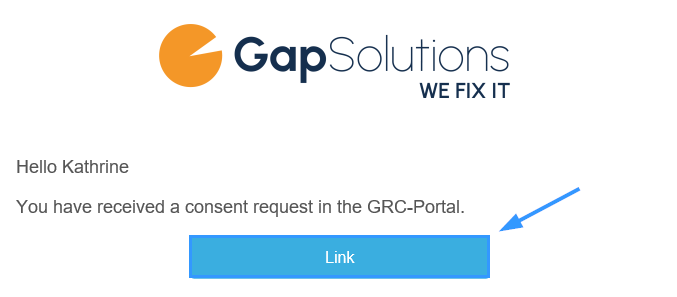
To get to the page where you can read about the declaration of consent and decide whether to give your consent, the recipient must click here. When you click on the “link” button, you will open a page that could, for example, look like this:
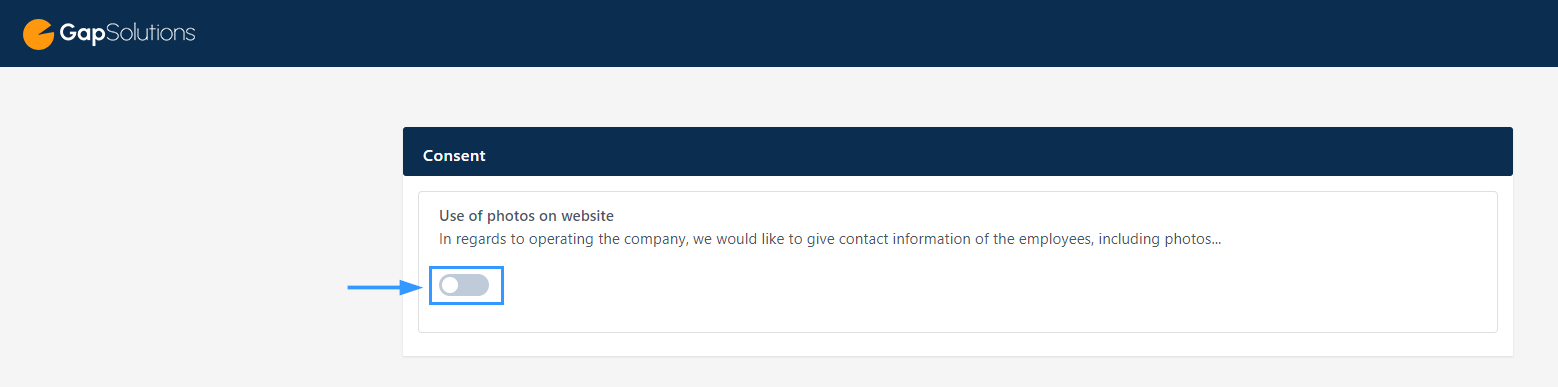
If the recipient wishes to give consent, the recipient must click on this icon. The icon will turn green when clicked on. As soon as the recipient has clicked on the icon and gives consent, this will be updated in the portal. If a recipient withdraws their consent by clicking on the icon so that it turns gray, as in the picture, the user who is set to receive notifications will receive an email informing them that the consent has been revoked.
Adresse
GapSolutions A/S
Uraniavej 6
DK-8700 Horsens
CVR
CVR-nr. 38582356
Telefon
Salg & administration
(+45) 8844 0808
Helpline & konsulenter
(+45) 2199 0808
E-mail
Kontakt@gapsolutions.dk
Support@gapsolutions.dk
Vi bruger udelukkende tekniske cookies på vores hjemmeside. For yderligere information se vores Cookiepolitik.
Vi er ISO 27001-certificeret og ISAE 3000-auditeret.